Best Factory Layouts in Reincarnated — Starter, Compact & Money-Making Setups
Five principles behind every good Reincarnated factory layout, plus three adaptable setups: starter line, compact build, and late-game money layout.
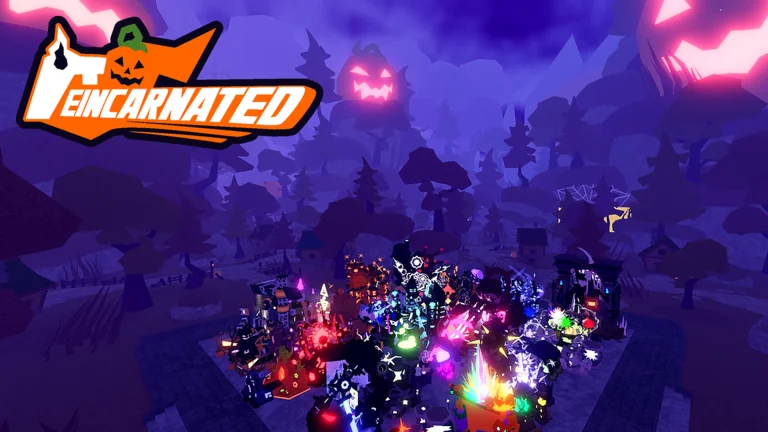
Reincarnated [Sandbox Tycoon] — Dreamscape’s ore-factory tycoon on Roblox (Place ID 126642046443487) — lets you place 500+ droppers, upgraders, conveyors and furnaces in free-form layouts. Two players with the same machines and the same reincarnation count can be miles apart in income, and the difference is almost always the factory layout. This guide gives you the five design principles behind every good Reincarnated factory layout, then walks through three ready-to-adapt setups: a starter line, a compact build for tight plots, and a late-game money-making layout.
Honest framing: Dreamscape hasn’t published official layout templates or per-machine numbers, and there are no canonical community layout diagrams to source from. The setups below are illustrative layouts built from game mechanics and community setup advice — adapt them to the machines you’ve actually unlocked. If a specific spacing number isn’t in this guide, it’s because the game hasn’t published one; test in-game.
Not the same game: this is Reincarnated [Sandbox Tycoon] by Dreamscape, not REx: Reincarnated (a Miner’s Haven–style mining game by a different developer) and not Reincarnated as a Slime: Incremental (an anime RPG).
Five Principles of a Good Reincarnated Factory Layout
Before any specific build, these five rules cover 90% of layout decisions:
-
Run your line straight first. A straight dropper-to-furnace run is the shortest path an ore can take and the easiest line to debug. The October 21 patch even touched conveyor speed, which tells you transit time is a real design variable. Build straight, then complicate only when you have a reason.
-
Keep upgrader chains tight. Upgraders multiply the value of every ore that passes through, so the chain between your droppers and the furnace is where money is made. Slot upgraders back-to-back along one corridor so each ore eats the full chain — a stray gap or an ore that skips one upgrader is value silently leaking.
-
Cut turns and choke points. Every corner and merge point is a place ore can pile up, especially when multiple dropper lines feed one corridor. The fewer turns on a line, the fewer failure points you have to audit when income dips.
-
Leave room to upgrade. Reincarnation resets your factory but returns you stronger, with new machines to slot in. A layout with zero spare tiles around the upgrader corridor will need full demolition every run. Leave expansion space along the main line.
-
Save finished builds as Blueprints. The official feature set includes saving a build you’re happy with as a Blueprint and sharing it with friends via an export code. A proven layout you can reproduce on demand beats a clever one you have to rebuild from memory every reincarnation.
Starter Layout: Your First Production Line
Best for: a fresh save, or the first minutes after a reincarnation when cash and machines are thin.
The starter Reincarnated factory layout is deliberately minimal — one or two droppers feeding a single short line:
- Place 1–2 droppers side by side, ore chutes pointing the same direction.
- Merge their output into one main conveyor running straight toward where your furnace will sit.
- Insert 1–2 basic upgraders into that main line, between the merge point and the furnace — early budget rarely supports more.
- End the line at a furnace and let it run for a few minutes.
- Watch it work. Three things to check: ore stalling at any corner, ore reaching the furnace in a steady stream (not bursts), and cash per minute actually ticking.
[Drop 1] ──┐
           ├── [Upgrader] ── [Upgrader] ── [Furnace]
[Drop 2] ──┘
The starter layout from the diagram above, built out in-game (illustrative).
If something’s off, fix in this order: remove the turn that’s stalling ore, confirm every ore passes through both upgraders, and only then think about a second furnace. Don’t add droppers before your upgrader chain is clean — extra ore volume into a leaky line just leaks faster.
Compact Layout: When Space Runs Out
Best for: tight plots, or when you’d rather spend floor space on a longer upgrader corridor than on parallel conveyor runs.
The compact approach trades parallel lines for one shared central artery:
- Set droppers back-to-back in pairs, both feeding the same central conveyor corridor instead of running separate lines.
- Run one single-file upgrader corridor down the middle — every ore from every dropper passes the same chain.
- Minimize turns to zero on the main artery if the plot allows; if not, use the fewest, widest merges you can manage.
- Furnace sits directly at the corridor’s end — no decorative extra distance.
[Drop 1][Drop 2] ══╗
[Drop 3][Drop 4] ══╬═ [Upgrader][Upgrader][Upgrader] ═ [Furnace]
[Drop 5][Drop 6] ══╝
The compact layout: back-to-back dropper pairs feeding one shared central upgrader corridor (illustrative).
The compact layout’s strength is cost efficiency: one upgrader chain serves six droppers. Its weakness is the merge points — that’s where you’ll watch for stalls first. Exact plot dimensions aren’t published; measure against your own base in-game.
Money-Making Layout: Scaling After Reincarnations
Best for: mid-to-late game, when several reincarnations deep you have the cash and machine count to think in production-line terms, not single machines.
This is where Reincarnated becomes a factory design game — the official 500+ machine allowance exists precisely for builds like this:
- Run 3+ droppers in a parallel array, evenly spaced, all chutes facing the same way.
- Merge the parallel lines smoothly into one shared upgrader corridor — the same “reuse one chain” logic as the compact layout, but at scale. A single long, tight chain processing the output of many droppers is the highest-value arrangement in the game.
- Make the merge a wide, gradual funnel, not a sharp Y. The merge point is the single most common stall location in scaled-up builds.
- Match furnace throughput to the corridor’s peak flow. If ore visibly stacks in front of the furnace, you have two options: add furnaces, or split the array into two full lines each with its own chain and furnace. Stacked ore is wasted dropper capacity, full stop.
- Leave a spare lane alongside the corridor for the next reincarnation’s upgrades — principle four scales up with you.
[Drop 1] ═╗
[Drop 2] ═╬══ [Upgrader][Upgrader][Upgrader][Upgrader] ══ [Furnace][Furnace]
[Drop 3] ═╝
[Drop 4] ═╡  (spare lane for next run's machines)
The late-game layout: parallel dropper arrays merged into one upgrader corridor with a matched furnace bank (illustrative).
One honest caveat: whether one upgrader can process multiple ores simultaneously, and how chain order affects final ore value, isn’t documented publicly — in-game testing is the ground truth. The layout logic (parallel in, single tight chain, matched furnace) holds either way.
Layout Optimization Checklist
Run through this whenever income dips or you rebuild after a reincarnation:
- Stall audit: watch a full line run — is ore piling up at any corner or merge point?
- Upgrader coverage: does every single ore pass through every upgrader in the chain?
- Upgrader order: are your upgraders sequenced deliberately? (Order effects aren’t publicly documented — keep your own A/B comparison.)
- Furnace match: is furnace throughput keeping up with peak dropper output, or is ore stacking at the door?
- Expansion room: is there floor space along the main corridor for next run’s stronger machines?
- Blueprint saved: is this build stored as a Blueprint with a clear name before you reincarnate?
Lock It In With the Blueprint System
The official feature list says it directly: you can save a build you’re happy with as a Blueprint, and share it with friends using a code. In practice this turns your best factory layout from a one-time achievement into a reusable asset — name the Blueprint after the build (“starter-v2”, “moneyline-A”), export its code, and you can hand your proven setup to a friend or rebuild it yourself without reverse-engineering your own screenshot.
Two honest notes: the exact save/export steps aren’t system-documented publicly, so follow the in-game Blueprint menu as the source of truth. And the community doesn’t yet have a public blueprint-code library — the official Discord has no dedicated blueprint-sharing channel, with sharing happening mostly through DMs and in-game. So there are no ready-made codes in this article: build your own, save it, and your layout library starts with you.
FAQ
What is the best factory layout in Reincarnated for beginners? A single straight line: 1–2 droppers, one merge, 1–2 basic upgraders, one furnace. It’s cheap, debuggable, and every later layout is an extension of it — our starter blueprint walks through the build step by step.
Do Blueprints survive reincarnation? Not documented. Cosmite and boxes are confirmed ascension-proof, but Dreamscape hasn’t published Blueprint persistence rules — check your Blueprint menu in-game after a reset before relying on it.
How many machines can I place? The official description advertises 500+ placeable droppers, upgraders, conveyors and furnaces, so late-game builds are limited by plot and planning, not by a tight machine cap.
Why is my ore piling up? Three usual suspects in order: a stall point at a turn or merge, ore skipping part of the upgrader chain, or furnace throughput below peak line output. Fix stalls first — they compound everything else.
Where can I share or find layout codes? The official Dreamscape Discord has #setup-support for layout help but no dedicated blueprint-code channel yet; sharing currently happens via DMs and in-game. Your own saved Blueprints are the most reliable library.
Is this guide for REx: Reincarnated? No. This covers Reincarnated [Sandbox Tycoon] by Dreamscape (Place ID 126642046443487). REx: Reincarnated is a separate mining game in the Miner’s Haven ecosystem.
Related Articles
Was this helpful?
Thanks for the feedback!